
RV Campsite Setup: Your Step-by-Step Arrival Routine
Setting up your RV campsite shouldn’t feel like launching a space shuttle. But let’s be real… it can definitely feel that way when you’re new (or exhausted from travel day).
With gear to unpack, utilities to hook up, pets to settle, and a rig that needs to be leveled and locked in, it’s a lot. That’s why having a clear, repeatable arrival routine makes all the difference.
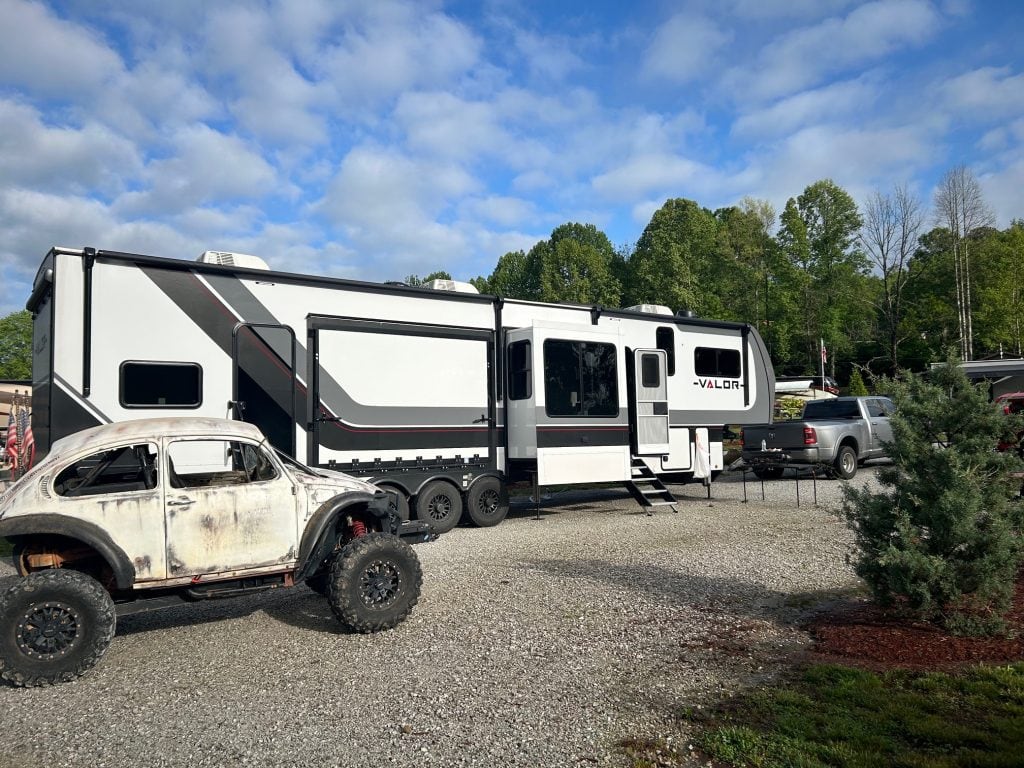
We’ll walk you through our exact setup process for our 44’ fifth wheel toyhauler—what we do the minute we pull into a site all the way to kicking back with a cold drink.
While every rig is a little different (Class C, travel trailers, and motorhomes each have their own quirks), we’ve included notes where setup might differ so this works no matter what you’re rolling in.
This guide is loaded with practical tips, affiliate gear recs we actually use (like the power watchdog, mosquito zapper, and our go-to camp chairs), and setup routines we’ve refined over hundreds of nights on the road. We also include a quick-glance RV setup checklist at the end.
1. Arrival and Positioning
Once we’re checked in and have our site number, we always start by scoping out the path to our site—especially if the park is tight or has a lot of trees. If there’s any doubt about clearance or turning room, one of us (Morgan) walks the route on foot to spot potential trouble areas before Alan pulls through.
If we’re traveling with the RZR and there’s not enough space to offload it once we’re in our site, we’ll offload it in the staging area or somewhere nearby before pulling in. Trust us… it’s a lot easier than trying to wiggle it out once your slides are out and your rig is leveled.
Once at the site, we pause and assess:
- Do we have enough clearance for all our slides and the side patio?
- Can our water, sewer, and power cords reach their hookups comfortably?
- Is there a fairly level area to start from?
We’ll reposition if needed before committing. Our goal is to avoid having to do a full redo after partially setting up (which we’ve absolutely done before).
RV Type Tip:
If you’re in a motorhome towing a second vehicle, you’ll want to unhook your toad before backing into your site. For towables, make sure to leave yourself room to pull forward far enough for unhitching if it’s a back-in spot.
2. Leveling and Hookups
The very first thing we do once parked is test the power. We plug in our power watchdog to check the power pedestal. If the connection is solid and safe, then we go ahead and hook up the rig to shore power.
This ensures that once we start the rest of our setup, we have electricity flowing which is especially important on hot travel days.
From there, it’s time to unhitch. We:
- Open the truck’s tailgate
- Place our Andersen buckets under the front jacks
- Lower the front jacks
- Disconnect the power cord and breakaway cable
- Fully disconnect from the truck and move it out of the way
While one of us is parking the truck, the other is working on the leveling system. We place Andersen buckets under the mid and rear jacks, then use our auto-leveling system to get the RV stable. Once it’s leveled, we chock the wheels for extra security.
Only after the RV is fully leveled do we put out the slides. (Yes, after. Some folks debate this, but every rig we’ve owned has specified leveling first. When in doubt, follow your manufacturer’s guidelines.)
Then we lower and level the entry stairs. If you have steps that touch the ground, wait until after leveling or risk bending or jamming them. Ask us how we know…
Pro Tip:
Keep your RV door open when extending your slides especially the main one near your entry. It helps equalize air pressure and avoids creating a vacuum-like suction that makes things harder on your slide motors.
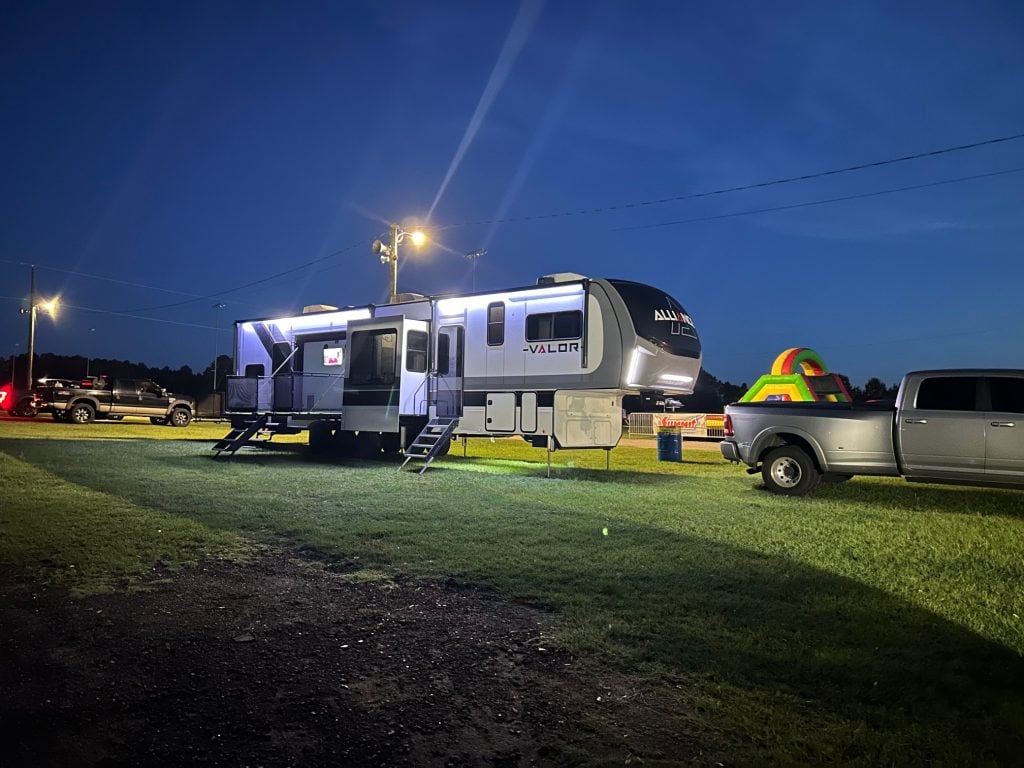
3. Setting Up Outside the RV
Once the rig is stable and the slides are out, Alan gets to work on the exterior setup (the stuff that turns a parking spot into home) while Morgan heads inside.
- Connect the water hose, including our inline filter and pressure regulator
- Hook up the sewer hose (tip: some folks do this before putting the slides out if the hookup is in a tight spot)
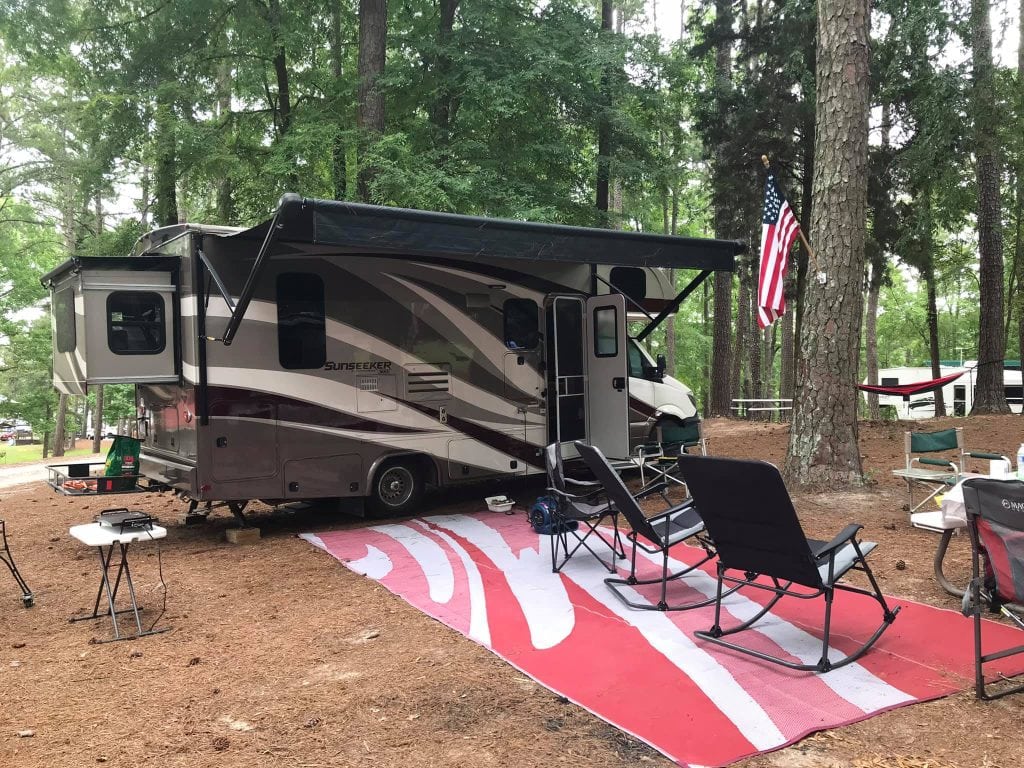
- Unroll and stake down our outdoor rugs
- Pull out our camp chairs, Solo Stove, and mosquito zapper
- Set up the side patio with rug, folding table, and stairs
- Add picnic table and bench covers (because splinters suck)
- Hang our site flag
- Put a trash bag in our folding exterior trash can—unless we’re in bear country (in which case, hard pass)

This is also when we check our internet setup. If the T-Mobile signal is solid, we plug in our internet box. Otherwise, we set up Starlink, which has been a lifesaver for Morgan who works remotely.
4. Setting Up Inside Our Fifth Wheel
While one of us is finishing up outside, the other usually heads in to get the interior settled—and let’s be honest, to blast the AC or heat depending on the weather. Comfort first!
- Turn on the air conditioning or heat
- Refill Coco’s water bowl and get her settled
- Carefully open the fridge and cabinets (because you know things shift during travel)
- Grab two cold drinks (one for each of us) and run Alan’s outside
- Unstrap the TV, dining chairs, and release the latches on the bathroom doors
- Lay down the indoor rugs
- Move Coco’s bed back to the foot of our bed (the space isn’t there until the slides are out)
- Reset the office area by placing Morgan’s large monitor back on the desk
- Rehang the wall art and photos that we travel with safely stored
- Set out hand towels, soap, and other everyday essentials
- Turn on the water heater if we’ll be showering or doing dishes
It’s a straightforward list, but having your “flow” helps. We’ve done this enough times that it’s muscle memory now. The goal is always the same: be cool (or warm), be comfy, and make it feel like home again… fast!
Adjustments for Boondocking
When we’re off-grid, our setup changes just a bit to account for limited resources. The biggest decision we make right after arriving is whether or not we’ll run the generator right away.
If we’re not using the generator, that means no air conditioning or microwave, so we prioritize airflow (windows open, fans on) and limit what we plug in. We’ll also switch on the water pump since there’s no city water hookup, and make sure we’re managing battery draw wisely.
Here’s what else we tweak when boondocking:
- No plugging in unnecessary electronics
- Quick-connect to solar if it’s a longer stay
- Use a collapsible basin for dishes to reduce gray tank usage
- Conserve fresh water by batching tasks (washing dishes, brushing teeth, etc.)
Pro Tip:
Always check your battery and tank levels before you get comfortable. You do not want to find out your water tank is empty after you’ve already pulled out the rugs and kicked your feet up.
Common Mistakes to Avoid
No matter how dialed-in your setup routine gets, you’ll still hit a few bumps along the way. We’ve made our share of rookie mistakes—and some not-so-rookie ones—and we’re sharing them here so you don’t have to learn the hard way.
- Using stabilizers as levelers
Back in our Class C days, we didn’t realize stabilizers aren’t meant to level your rig, they’re just for support. Guess how we learned? Snap. 😬 - Putting stairs down before leveling
If your entry steps sit flush with the ground, do not deploy them until you’ve leveled the RV. Otherwise, you might be spending the evening trying to pry them out of the dirt (or worse, replacing them). - Forgetting about suction when putting slides out
Keep a door or window cracked open while extending your slides. It helps relieve pressure and avoids that weird vacuum effect that makes your motors work harder than they need to. - Not checking space before opening slides or patios
Trust us: it’s a lot easier to reposition before your slides are out and your power cords are stretched tight.
Bottom line: The more consistent your setup routine, the fewer surprises you’ll run into. And even when something goes sideways, it becomes part of the story—just hopefully not the expensive kind.
Quick-Glance RV Campsite Setup Checklist
Here’s a simplified version of our arrival routine. Feel free to tweak this for your specific rig and travel style. (Printable version coming soon!)
Exterior Setup
- Check-in and scout route to site
- Offload toys if needed
- Position RV for slides, hookups, and level ground
- Test power with surge protector (e.g. Power Watchdog)
- Connect to shore power
- Set up internet (T-Mobile box or Starlink)
- Unhitch and move tow vehicle
- Level RV (Andersen buckets + auto-leveling)
- Chock wheels
- Deploy slides and stairs
- Hook up water with filter and pressure regulator
- Connect sewer hose
- Lay down rugs
- Set up chairs, SoloStove, mosquito zapper, trash can
- Prep side patio, picnic area, and site flag
Interior Setup
- Turn on AC or heat
- Refill pet water
- Carefully open cabinets and fridge
- Unstrap TV, chairs, doors
- Lay down rugs and Coco’s bed
- Set up office space
- Rehang decor
- Set out hand towels, soap, etc.
- Turn on water heater
Build Your Own Easy RV Setup Routine
The more you RV, the more your setup routine becomes second nature—but having a reliable, repeatable process from the start makes every arrival smoother and less stressful. Whether you’re in a motorhome, travel trailer, or fifth wheel like us, the goal is always the same: get set up, get settled, and start enjoying your site.
We hope this walkthrough helped you map out or refine your own routine. And if you’re curious about what setup looks like in reverse, our campsite breakdown and our travel day pack-up process.
Want a printable version of this checklist? Stay tuned—it’s coming! And in the meantime, check out some of our favorite gear linked throughout this post to help make your setup even easier.
New to RV Life? Here’s What to Read Next
If you’re just starting your RV journey, we’ve got more resources to help you hit the road with confidence:
- 👉 RV Essentials for Beginners – Gear you actually need (and what you can skip)
- 👉 How to Plan Your First RV Trip – A step-by-step trip planning guide
- 👉 Helpful RV Apps – Navigation, campgrounds, weather, and more
- 👉 Unwritten Rules of RV Etiquette – Don’t be that neighbor
- 👉 RV Travel Is the Best Way to Explore the US – In case you need a reminder of how awesome this life is
Whether you’re setting up for the first time or the fiftieth, we’re glad you’re here—and we’re always just a blog post away.